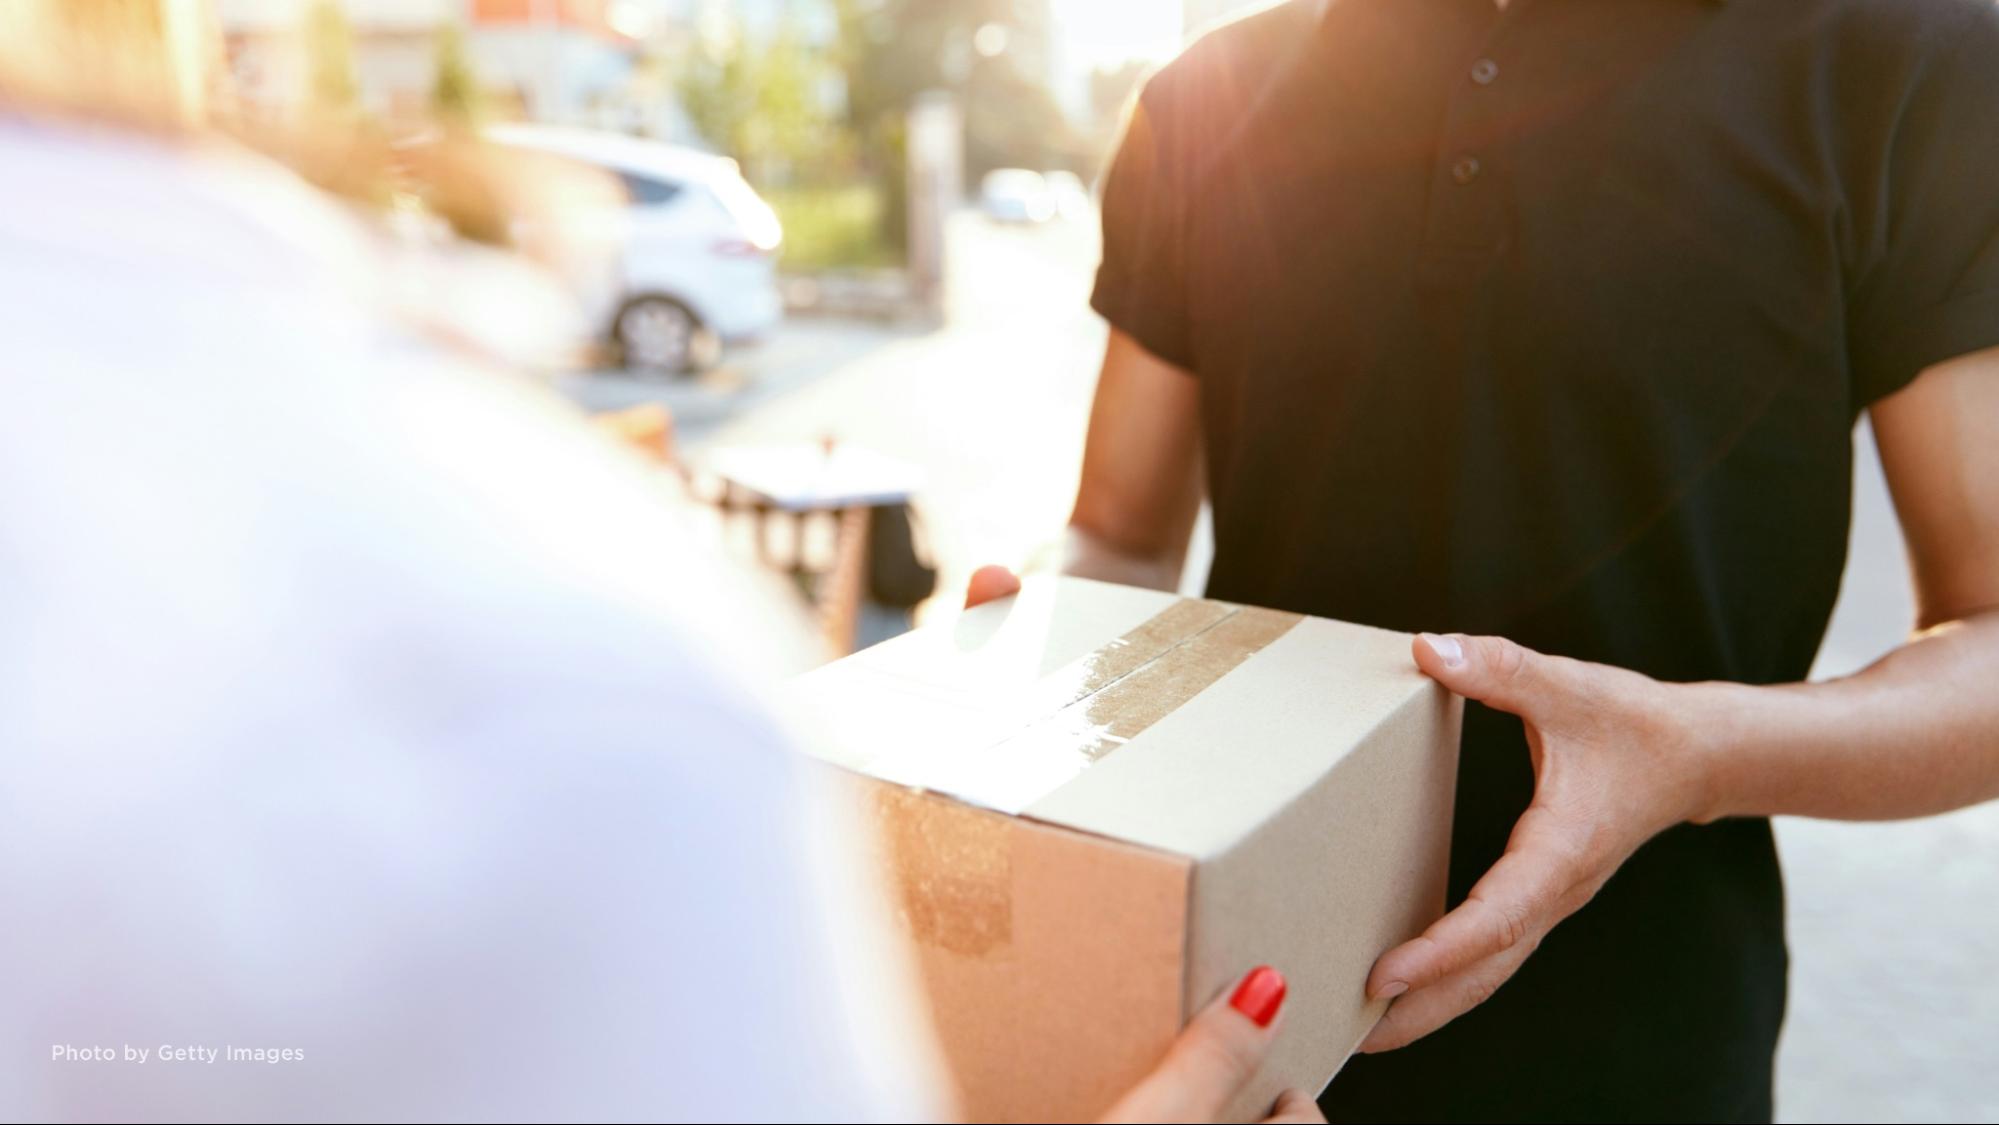
Printing
Unlock more sales and simplify purchasing with packages!
Unlock more sales and simplify purchasing with packages!
What are packages?
Packages are the perfect tool for professional photographers like you to offer curated bundles of photo prints and digital copies. Imagine being able to provide your clients with an all-in-one solution that simplifies their purchase experience while boosting your sales. It's a win-win.
The benefits of packages.
Boost sales: Packages allow you to create enticing offers that encourage customers to buy more. Offering bundled deals can increase the average order value and, ultimately, your revenue.
Simplify the purchase process: Your clients no longer need to agonize over choosing individual prints and files. They can easily select a package that suits their needs, making the decision-making process hassle-free.
Value for your clients: Customers love discounts and bundled deals. Packages provide them with great value, making them more likely to make a purchase and recommend your services to others.
Consider this example - you could offer a package that includes two 8x10 prints, two 4x6 prints, and the original digital files—all at a discounted rate. Your clients can then choose which photos they want to include in this package, creating a personalized experience.
Getting started with packages.
Ready to make the most of this feature? Here's how to get started:
1. Log in to your account.
2. Navigate to the packages section via the Selling Tools menu at the top of your account.
3. Create your customized packages based on popular combinations.
4. Promote these packages to your clients through your website, social media, or email campaigns.
Remember, packages can not only simplify your workflow but also enhance the buying experience for your clients, leading to more orders and happier customers.
Ready to get started? Learn more about creating packages.
Available only for SmugMug Pro subscribers. Not on the Pro plan? Learn more about how the Pro plan can help you elevate your photography business.
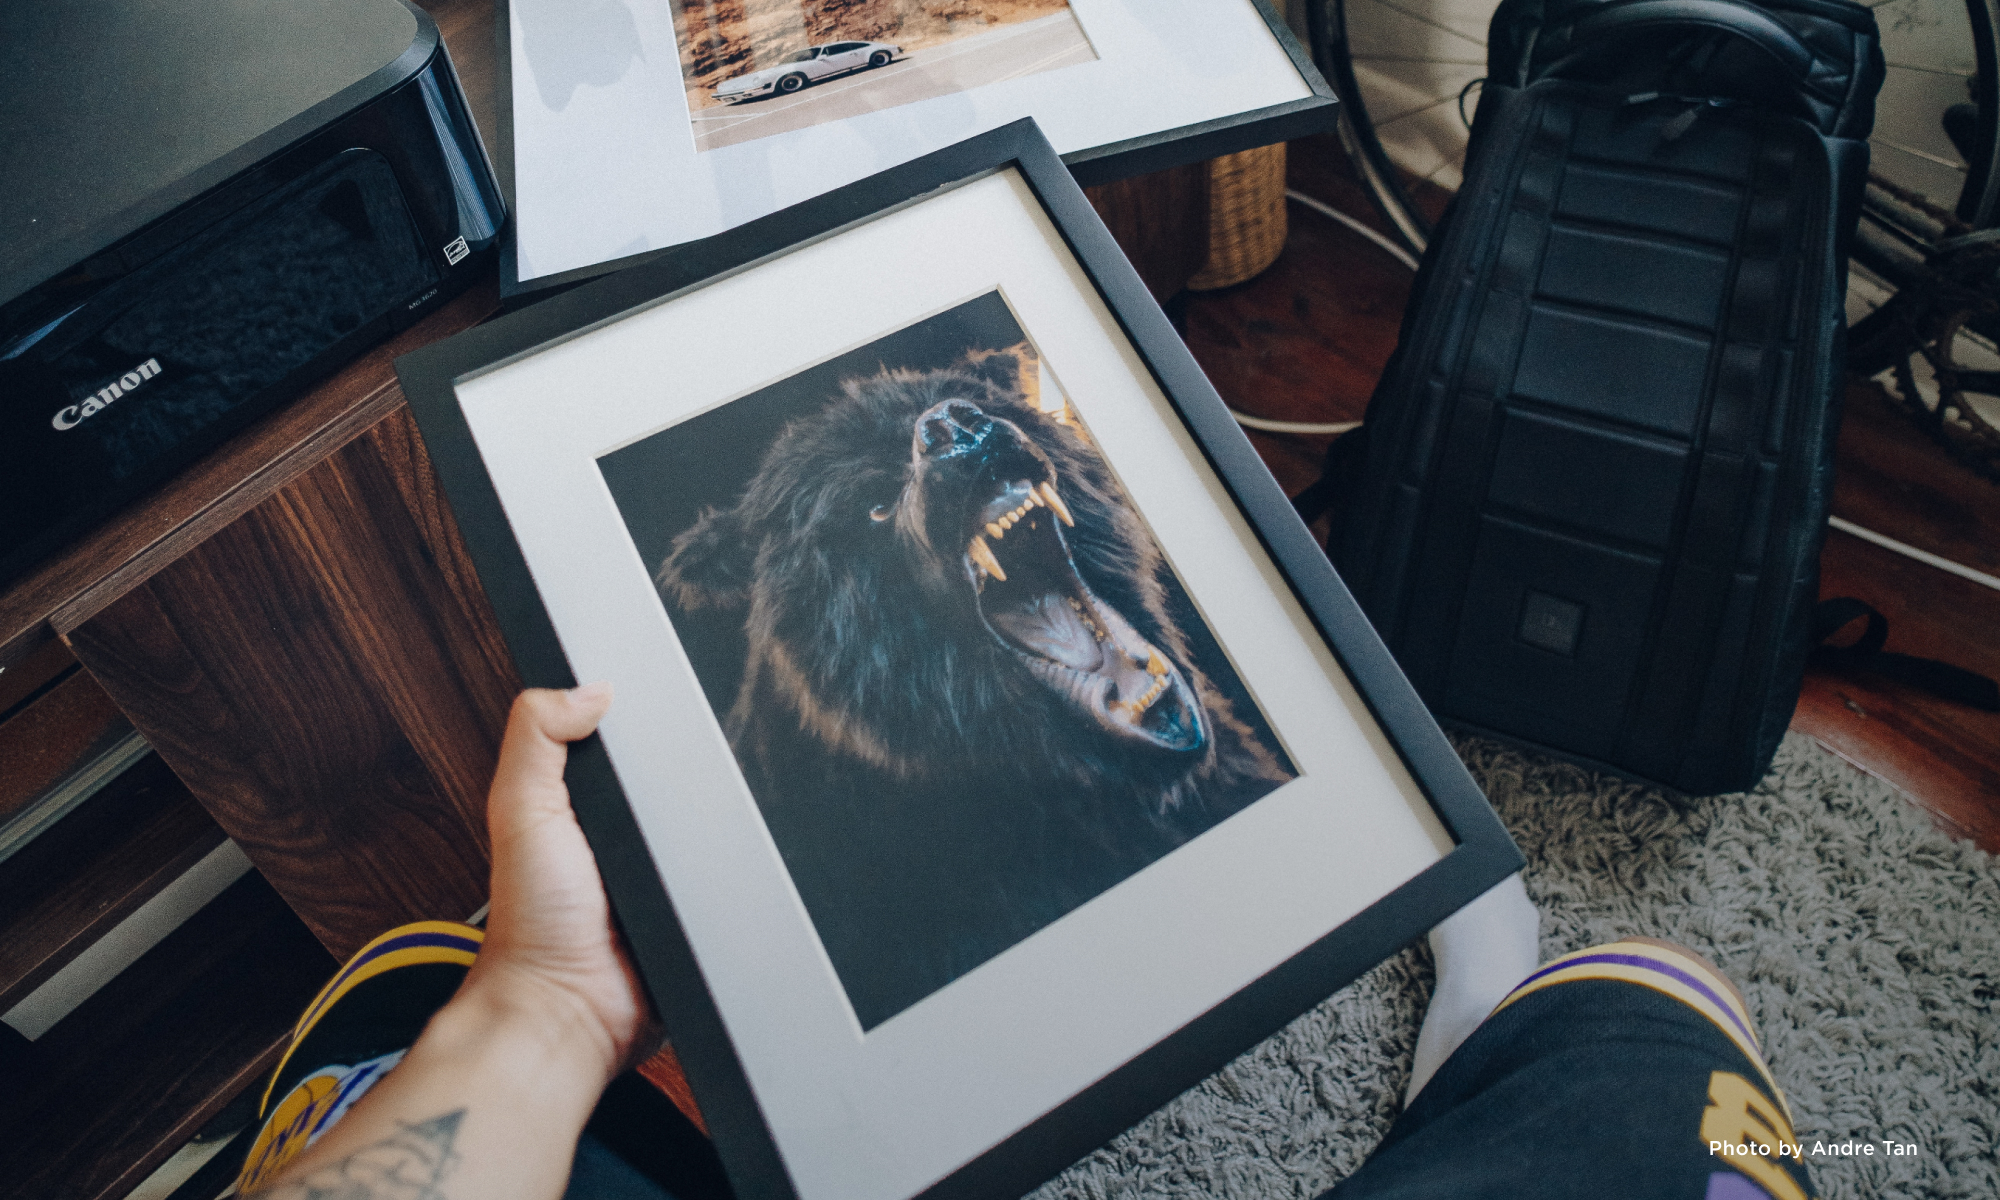
Prep your files for great prints.
Prep your files for great prints.
Ready to print big? The topic of file prep may not be exciting for everyone, but there are a few important things you should watch out for before you send your files to the lab.
Here's a checklist from our in-house print experts to help you turn your favorite images into perfect prints, and to avoid seeing imperfections blown up super-sized on the wall.
1. (File) size matters.
A key factor in getting stunning, large prints is having enough high-quality information in your starting file. Image file size is measured two different ways:
- MP (megapixels) are a representation of the dimensions of the file (length and width) and are determined by the size of the sensor in your camera. If you don't crop your original file, then your photo will have the same number of megapixels as your camera sensor.
- Mb (megabytes) is a representation of the quantity of data in the file. A colorful image will be larger than a black-and-white image, for example, and a busy street photo will be a larger file than a photo of a plain, blue sky.
The bigger you want to print, the larger the file size needs to be. As a rule of thumb, you need a minimum of 1 Mb and 1 MP in your file to print small, standard print sizes up to 8x10 inches.
To check the file size on your computer, open Image Properties and check Image Details on your photo. To check in your SmugMug gallery, click the image information icon that appears in Lightbox view.
For a more advanced trick to check your image quality, try these steps in Photoshop:
- Click Image > Image Size.
- Set Image Resolution to 90 pixels/inch.
- Check the box for Resample Image.
- Set Image Size to your desired print size.
- Click OK.
- Zoom viewing magnification to 100%. This should give you an accurate representation of what the printed image will look like. If it looks pixelated, then you’ll need to choose a smaller print size.
- Make sure you don’t save these settings to your file.
Tip: Image size does not trump image quality. If your original image is out of focus, no number of pixels will fix it. Always start with your best-quality photo.
2. Shape is everything.
Your digital file will have a shape that's been determined by either the camera sensor or by any cropping you do to the file. All print products also have set dimensions and specific shapes. They range from squares to rectangles, and every variation in between.
If your digital file doesn’t have the same shape as the print product you want to order, you’ll need to crop that image so they match. You can do this in your editing software of choice or on SmugMug after you upload.
3. Be wary with borders and text.
Does your image have a border or overlaying text?
- Make sure your borders are at least ¼-inch wide or they will be at risk of getting cut off and/or appearing uneven on the finished print.
- Make sure text is at least ¼ inch away from any edge of the print (or within the crop box for mounted prints) to prevent it being cut off during the printing process.
- Double-check all text for typos.
4. With flying colors.
Get those whites white. Our eyes judge all colors by using black and white as the reference points. Make sure you have a true white point (255, 255, 255) and/or a true black point (0, 0, 0) in your images.
Watch those skin tones. In portraits, pay close attention to your skin tones. You'll want pleasing skin tones, generally warm rather than cool.
Don't be fooled by screen brightness. Our computer monitor, tablet, phone, and camera LCDs are all backlit devices. They will always display our images brighter than any physical print. Be sure to adjust for this, otherwise your prints may end up much darker than you expect.
Tools to help:
- Color calibrate your monitor, either with a calibration print (our preferred method), your computer's system preferences, or by using an actual color-calibration device.
- Use the print lab's supplied ICC color profile.
- Use editing-software histograms, levels, and curves tools for editing color and exposure.
Tip: Does this all make your head spin? Try using SmugMug's color correction whenever you order a print through our print labs.


The changing business of wedding photography.
The changing business of wedding photography.
Do you know Lee Morris, pro photographer, video producer, and educator? He's a seasoned commercial, advertising, fashion, and wedding photographer, plus he's co-founder of the website Fstoppers.com. He took a moment to reflect on the wedding business, why it's so hard, how it's changing, and how pros like you can make the most of it by staying true to your heart.
The role of sentimentality in business.
When it comes to managing a business as intimate as wedding photography, it’s easy to let your emotions take over. I try my best to approach my photography business as I would any other business. I need to manage my time, keep my current clients happy, consistently book new clients, and make money. Many photographers fail to meet at least one of these goals. Maybe you’re really good at making your current clients happy, but you work too much and you don’t enjoy your job or have time to enjoy your life. Maybe you book a ton of work, but you don’t charge enough and you’re constantly struggling financially.
During the digital revolution, many photographers who didn’t change their pricing structure were incapable of making their current clients happy. Maybe their pictures were great, but as digital started to take over, couples felt like they were getting nickeled and dimed after the event. If you can’t make your current clients happy, you’re going to struggle to find new clients.
When I started my business years ago, I learned early on that I hated making prints and albums. I could shoot a wedding in a few hours and make a few thousand dollars, but it would take me a full day to retouch a few pictures, print them myself, or take the files to a lab, package them up, take them to the post office, and I would only make a few dollars’ profit. In many cases my clients would have to wait weeks to actually get their prints because I was out of the state shooting another job. I decided I was going to start giving away the digital files with each of my weddings. Maybe I would lose a few dollars on the back end, but I was also gaining a ton of free time; and my clients were happier because they could print their pictures how they wanted, when they wanted.
As a single guy in my twenties, money was important to me, but free time was far more valuable. Once I had booked my 20 or 30 weddings for the year, I knew I had plenty of income to support myself and had the security to start working on other things. With the extra time I had gained, I created the photography website Fstoppers.com. If I had focused on custom prints and albums like other photographers do, I have no doubt I would have made a bit more money, but Fstoppers has been far more rewarding. Creating videos for our website like Bon Jovi’s photographer behind the scenes, Peter Hurley’s: The Art Behind The Headshot, or How To Become A Wedding Photographer has been the most exciting experiences of my life.
My point is that you may love your photography career (I sure do), but if you can give yourself some extra time, who knows what you’ll be able to create.
SmugMug = time = money.
When I found SmugMug, I realized it filled three major needs in my business:
- High-resolution backups are included with the subscription.
- It allowed me to promote my photography by giving guests and family members a place to go to see my work.
- Bay Photo integration meant I gave my clients high-quality prints without actually having to do any work.
By simplifying my business, I was meeting all four goals above; I had more free time, my clients were happier, I was marketing to new potential clients, and I was making money from print sales each month.
It’s easy to think we know what’s best for our clients. We may know that if they don’t book an album now, they will probably never get one made. But the sad truth is that many of our clients would rather put their pictures on Facebook than deal with an album. It’s important to remember that we are hired by these couples to do a service for them; if they don’t want prints, we should figure out what they do want and charge them accordingly for that.
If you’ve ever bought a car before, you know how obnoxious it can be when the salesman tries to sell you on something you don’t want. There are so many other ways to make money with wedding photography that may not involve expensive prints. I make far more money than I ever did selling prints by selling engagement and bridal sessions, setting up a photobooth at receptions, selling video slideshows of the event, and offering a video service. Many photographers also don’t know that SmugMug makes it incredibly easy to sell digital copies of files. If you don’t want to give away your files like I do, you’re able to set the size and price for each individual picture.
I want to make clear that I love high-quality prints and that many wedding photographers make a lot of money selling prints, even today. I love seeing my work printed huge, professionally framed, and hanging on a wall. My point is simply that times are changing and the current generation of brides probably do not want the same things that their mothers wanted. To stay ahead of the pack, you need to deliver exactly what your clients are looking for, not what you think they will appreciate one day.
If I could sum up this article into a single point it would be this: Listen to your clients, and give them what they want. A happy bride will tell her friends how wonderful you are, and you will never have to worry about a shortage of work. In some cases, especially this one, it can make your life a lot simpler, and you might even make more money.
All photos by RL Morris Weddings.

What photos sell?
What photos sell?
Have you ever wondered what else you could be doing to get more sales for your landscape photography? Our friend Varina Patel has offered us great info about how to mix business and photography when you’re out and about. Here's what she says about keeping the customer at the forefront of your mind the next time you're out shooting.
You never know what a buyer will want—and each buyer is different. But, over the past several years, we’ve learned a few things about maximizing the potential of our portfolios. Here are a few tips for making sales.
Horizontal and vertical shots.
When we’re in the field, we usually find that a composition works best in either horizontal or vertical orientation. But in most cases, after capturing the most visually appealing image, we’ll work to find another shot that works with the camera turned 90 degrees. Why? Because sometimes the buyer needs an image that works in a particular orientation. Are they looking for a collection of calendar images? They’ll probably need horizontal images. Photos for a magazine? They’ll need a vertical shot to grace the cover
Since you never know who might want to purchase your images in the future, you can’t know which orientation will work best for their needs. Shoot in both orientations, and you’ll be ready no matter what they ask for.
Local images.
Not too long ago, Jay sold a shot of Cedar Falls (titled, The Looking Glass) as part of a collection of fine-art images. He has many shots of waterfalls, and it wasn’t one of his favorites. The image lacks the vibrant colors or grand vistas you typically find in Jay’s more popular landscape photographs. When the client asked about waterfalls, his first instinct was to send them samples of the most popular waterfall images in his portfolio. One of the first shots he sent was Arizona Dreaming, this brilliantly colorful “icon shot” from Havasu Falls in Arizona.
But the client passed on all those brilliant-color and famous locations. Instead, she chose the quieter image…one he’d never sold before. He was curious about her choice, and he asked her about it. The answer was simple: she wanted images of local places, no matter how ordinary they looked in comparison with those famous, iconic locations.
When you approach a potential buyer, make sure you have plenty of local images. Colorful photographs capture the eye of the viewer, but familiar places capture their hearts.
Collections.
When you present your images for sale, consider using gallery features that allow you to group your images into categories based upon similarities. For example, I have a gallery that’s dedicated only to black-and-white images and another that’s just for mountains. You can set up a gallery for images with a dominant blue-color theme or for photographs from a specific location. Your options are wide open.
SmugMug’s smart galleries feature lets you use keywords to create collections so potential buyers view images with shared characteristics. When a buyer wants more than one image, they often have a theme in mind. One buyer asked me for 30 detail shots she could sell as a wallpaper collection. Another wanted several waterfall photographs for decorating a newly opened hospital. In Cleveland, a buyer wanted images of local parks and iconic locations for the walls in an office building.
As you build your portfolio, keep an eye out for images that work well together, and be sure to present them as potential groupings.
Big prints.
Would you be surprised if I told you that giclée canvas prints are some of our biggest sellers? There’s just nothing like a really BIG print that makes a statement or ties a room together. In most cases, I don’t get to see a print after it’s hung, so it was a real treat to be able to see this one in its place of honor over the fireplace. This canvas print is hanging in a beautifully decorated home near Atlanta, Ga.. The colors in the room were actually chosen to match the print—the entire room is coordinated to match the colors in the photograph. I wish I could give you a tour of the whole house, which is a work of art itself.
Canvas prints are more expensive—especially really big ones—but most people hang them without a frame since they stand alone so well. They avoid the expense of matting and framing, making the price much easier to swallow.
Offer your prints for sale on canvas at the largest size available. A photo printed at that size packs a whole lot of punch!

Color calibration for perfect prints.
Color calibration for perfect prints.
This tip is brought to you by cabbey, landscape and fine-art photographer, and one of SmugMug's backend engineers. He's usually up to his elbows in the code that sends your orders to the labs and your profits to the bank, but now he's sharing some tips for photographers who want to be sure they’re getting the best possible prints.
But it looked good on my screen!
Let's say you take a picture of your son and the camera does everything perfectly in terms of white balance and exposure. You made sure the image was properly exposed, something akin to the image on the left below.
Next, you downloaded that image and loaded it onto your computer. But your computer's monitor isn’t calibrated, so your photo suddenly looks too red and too bright, like the middle image below.
To correct this, you fixed it in Photoshop until it looked like the original image. When you were done, you uploaded it to SmugMug and ordered a print, then received something that looks dark and weirdly tinted green:
Why did the lab ruin my image?
They didn't! The problem is that monitors are generally made for office tasks, not photography. Manufacturers give you the brightest display possible with the punchiest red they can produce.
As a result, any time you process your photos on an uncalibrated display, you're making your image considerably darker and turning down the red cast, skewing everything toward cyan. The third image above is what your finished photo actually looks like, and the lab faithfully printed what you sent them.
Calibration to the rescue.
By calibrating your monitor, you'll get better prints and happier customers without having to fall back on SmugMug's 100% print guarantee. The top three correctable problems that land on our help desk are
- The prints are too dark.
- The prints have a weird color cast.
- Skin looks too red.
We have a great help page about return rates that shows what gets returned and why. The top six reasons are all solvable by using a properly color-managed workflow.
How do I do it?
Exactly how you do it depends on what gear you buy. There are a number of different choices, but the leaders of the pack are Datacolor's Spyder and X-Rite's lines.
In general, you'll need a colorimeter or spectrophotometer (fancy words, but they basically mean a special device you can put on your screen and plug in to a USB port) and a piece of software that usually comes bundled with it. The software will put your monitor through its paces while you have the meter on it, then it uses that information to build an output profile for your screen.
With that resulting profile, any software that cares about a properly color-managed workflow can properly display accurate colors on your screen. Since monitors' color accuracy varies over the lifetime of the display, it's important to update the profile periodically, at least every month or two. Most of the above programs will remind you when it's time to re-profile your display.
You can also get a calibration print with SmugMug. With that in hand, you can bring the calibration image up in your editor of choice and see how much closer a calibrated workflow makes it look on your monitor. The closer it is, the closer your images will be when you're editing them.
Lab color correction: One click to save them all.
Portfolio and Pro account holders can always print through Bay Photo, WHCC, or Loxley Colour, whose color-correction services are always done by hand. It costs a little more, but it can save you time at your desk, or headaches if you don't feel like fiddling with your computer.
You can find this option when editing your pricelists.
Go the bargain route.
Most operating systems have an "eyeball" calibration you can do that will at least get you started. They aren't as accurate, and they depend on your eyes making decisions, so be aware that this may not work for everyone.
On a Mac, use Spotlight to launch Display Calibrator Assistant. Once it opens, just follow the steps.
On Windows, search in the control panel for "display calibration" and, again, follow the steps.


